
Designing and Printing My 2021 Calendar - Dorset Landscapes
One thing I have thoroughly enjoyed doing over the past two years is sitting down and reviewing my photos from the last 12 months, then putting together a landscape photography calendar for the coming year.
With my main day job being in architecture, graphic design is something I really enjoy and have been doing for over 8 years now. This has come in real handy when designing and putting together my own personalised landscape photography calendar, designed from scratch in Adobe InDesign with all images proof edited in Lightroom. However, one thing I thoroughly enjoyed this year is actually spending a day at the printers (Palm Print) testing out paper choices, different types of laminated covers and following the printing process from start to finish. I can’t thank Chris, Wayne and the team at Palm Print enough for the incredible printing service they provided during such a rollercoaster year - they really have done a mind blowing job.
You can order your 2021 Calendar by clicking here.

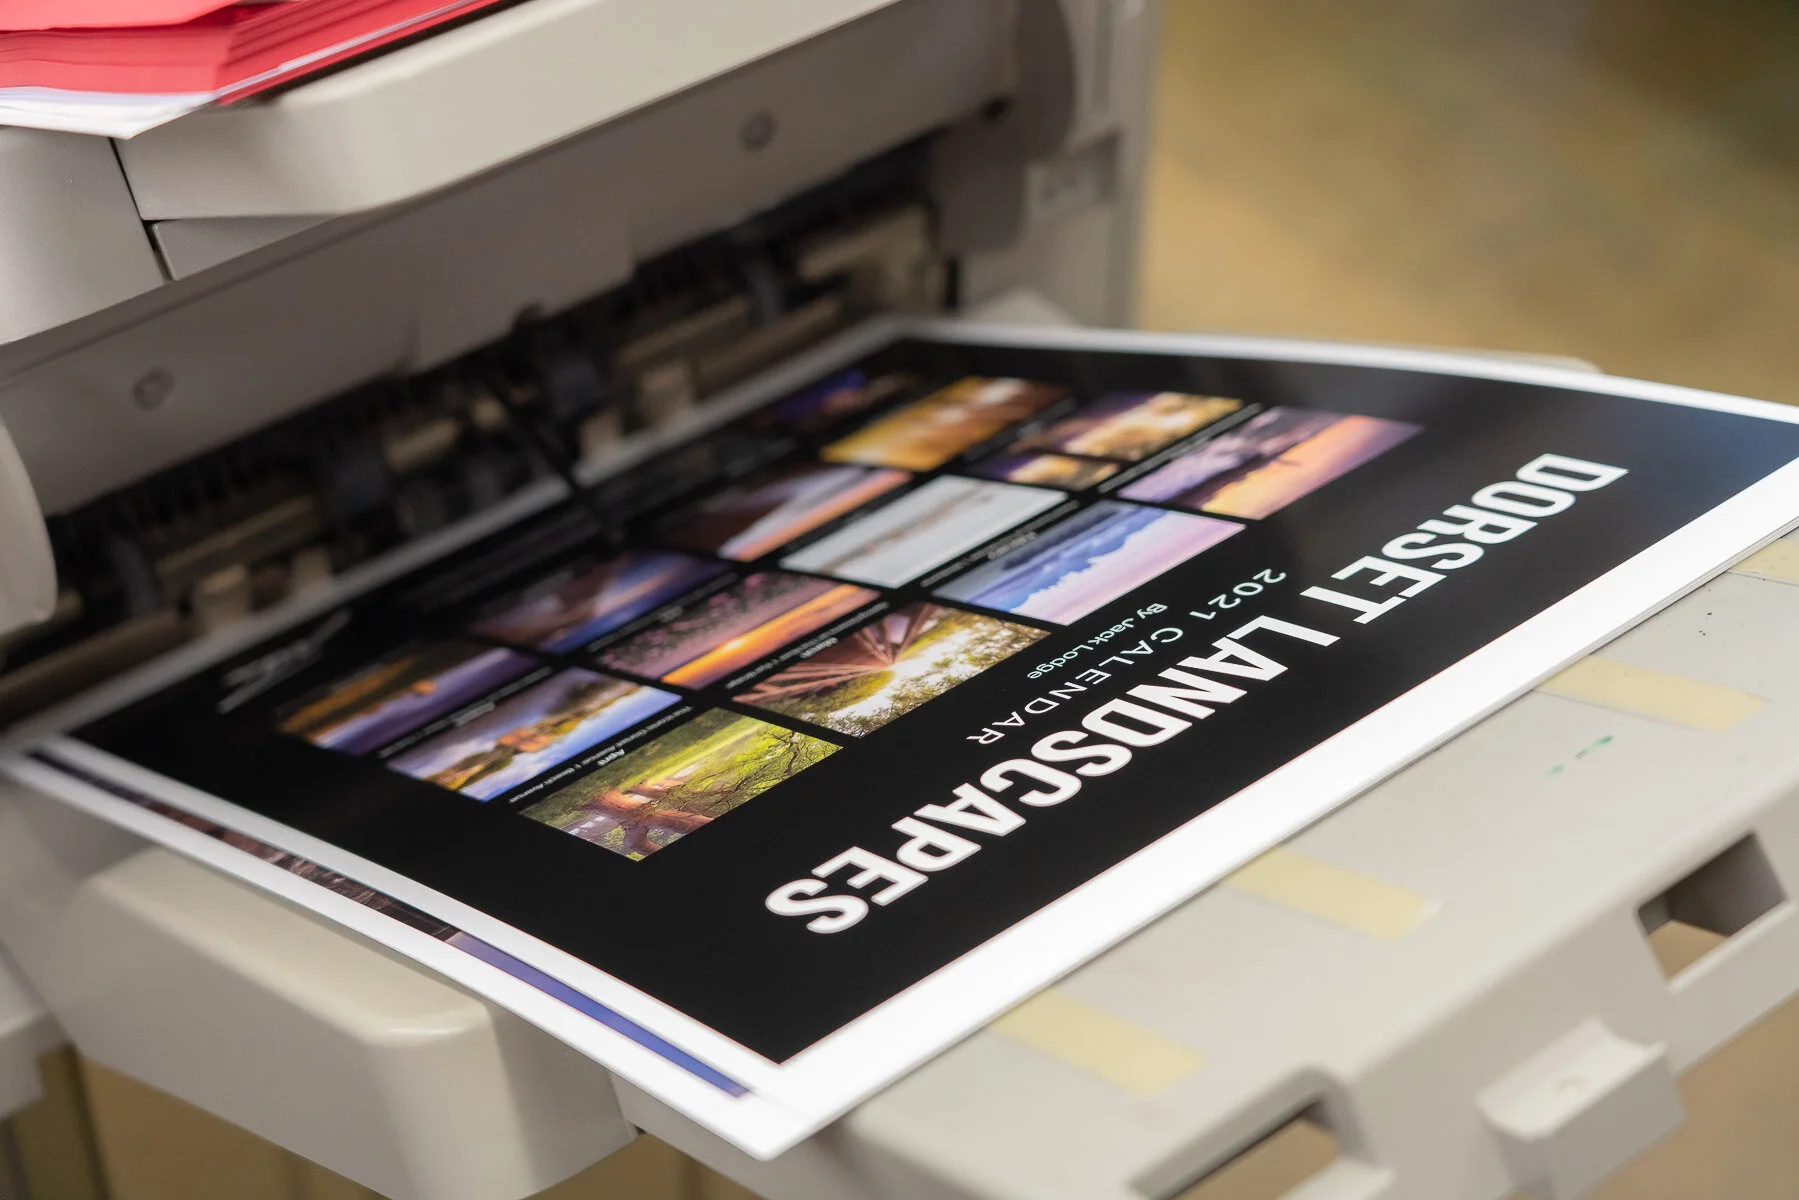
Stage 1 - Cover Printing
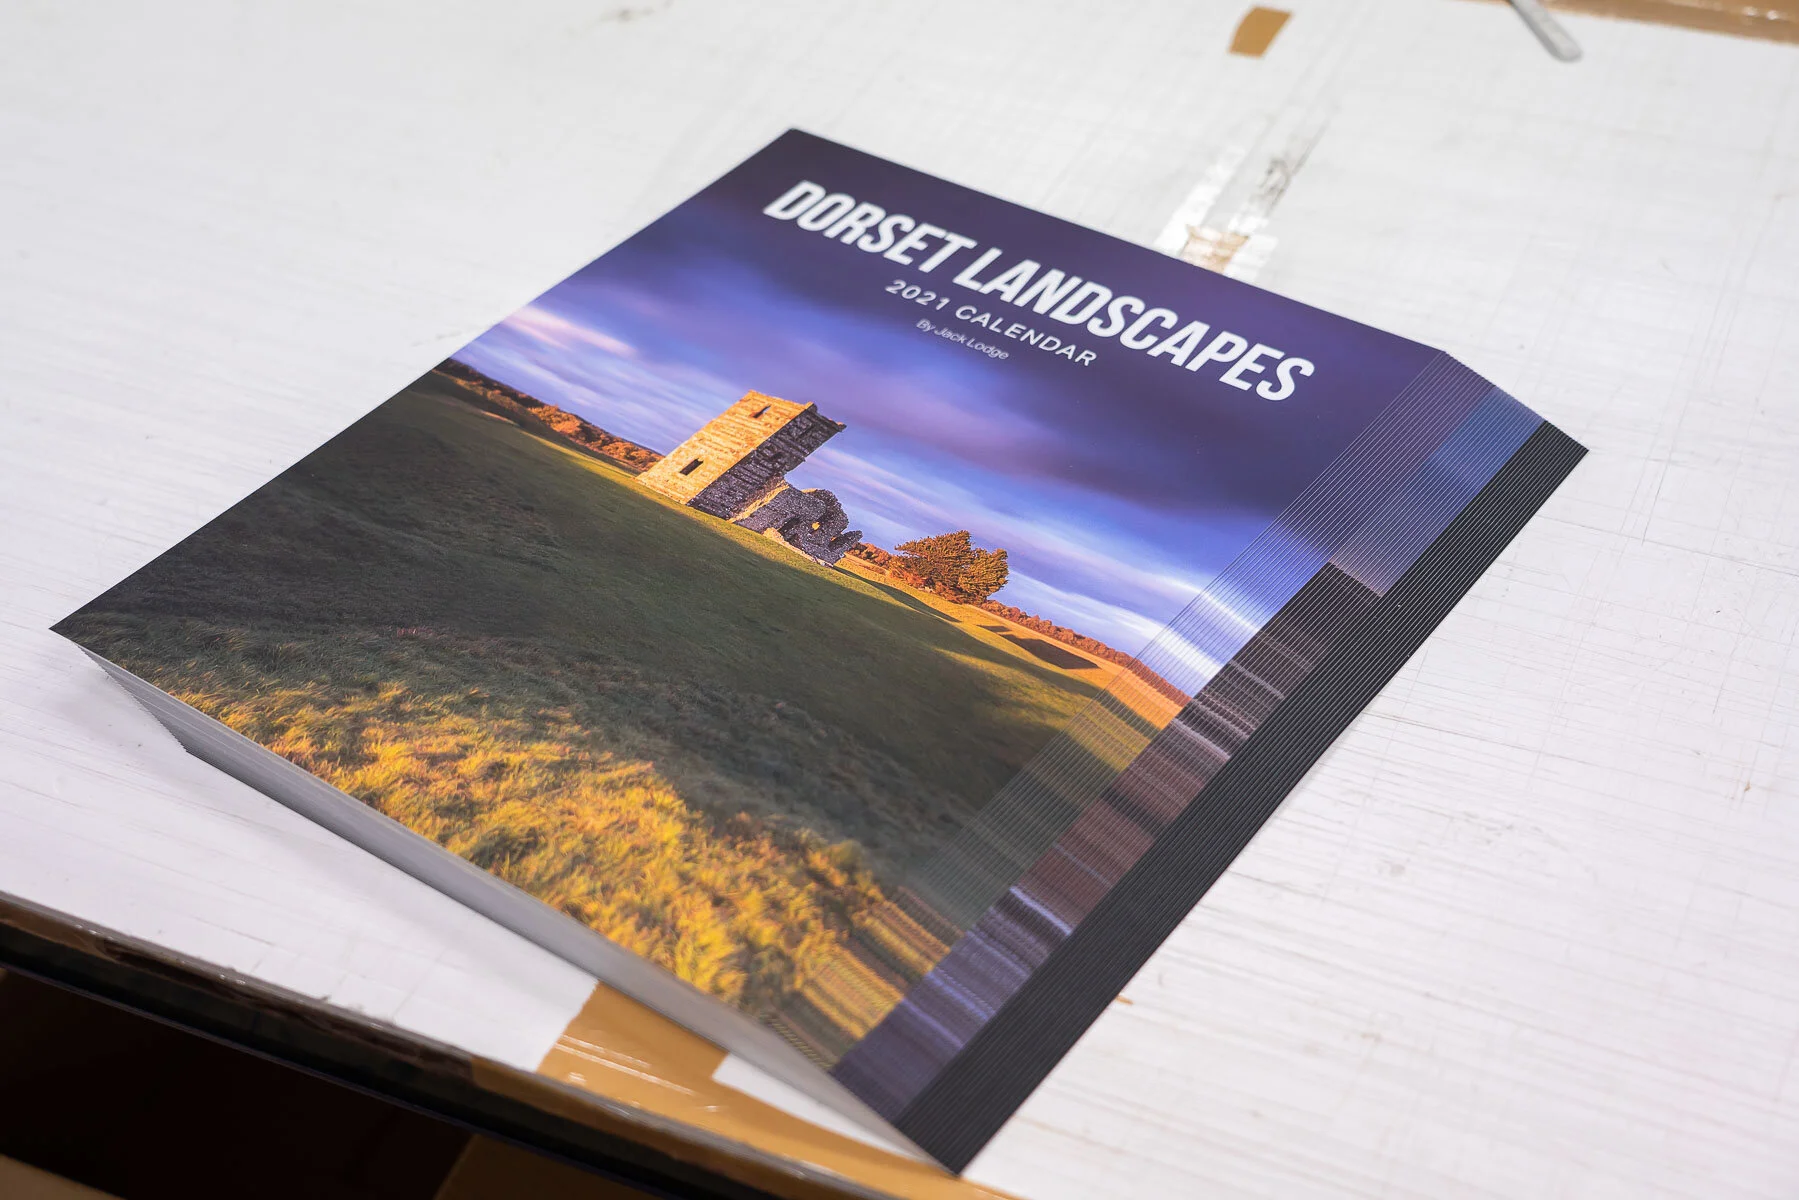
After loading the high-quality proofed PDF to the printing software, the first step is to print the front and back covers for the 2021 Calendar. For me, first impressions when touching the calendar are SO important. I want it to feel high-quality and bespoke, so we selected a heavier silk paper for the covers (400gsm) that would later be laminated with soft-touch finish - more on that process later. First time feeling the covers had me second guessing if it was more than one page, the quality really is mind blowing.
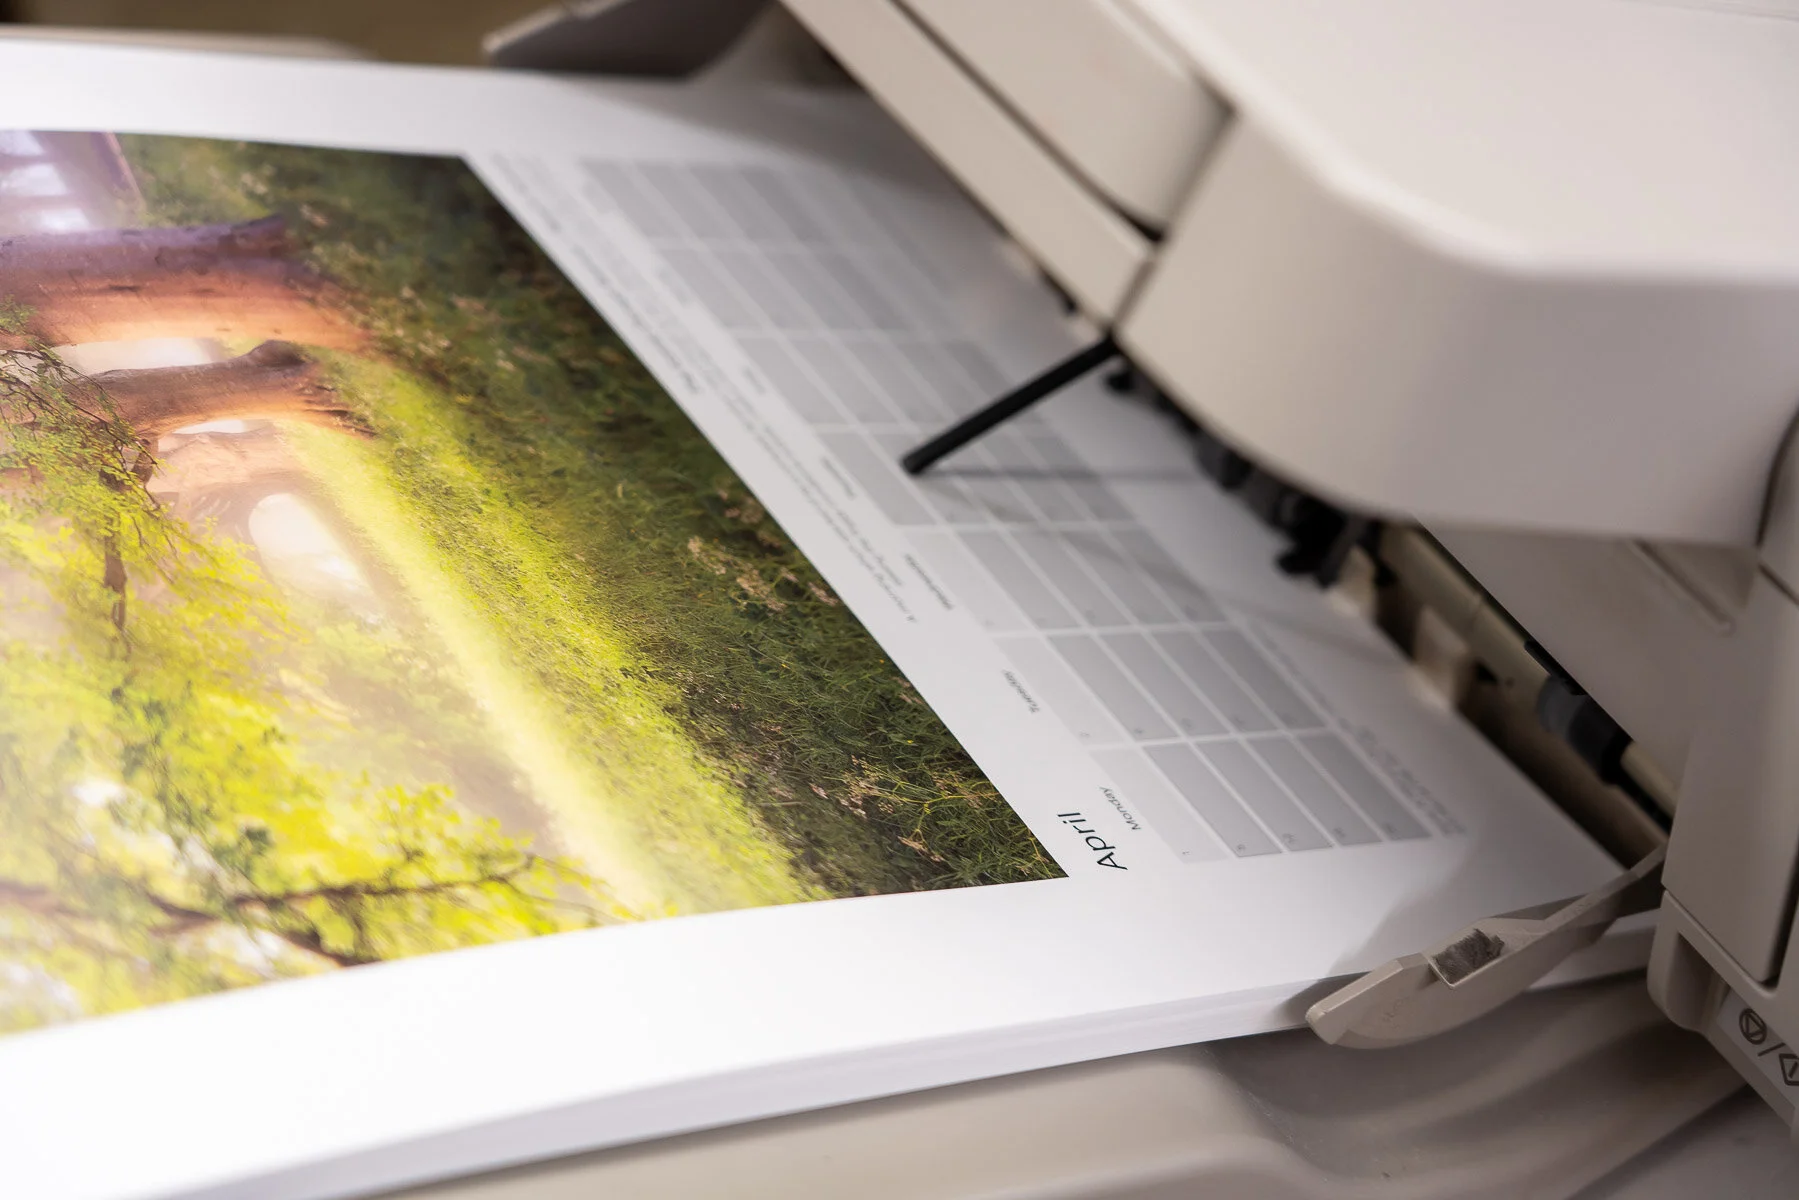
Stage 2 - Inner Pages Printing
Having selected a 200gsm silk paper for the inner pages, printing each page in batch order was the next task. Seeing these come out at high-speed got me super excited… seeing pictures on screen is one thing, but actually seeing them come to life when ink touches paper is what it is all about for me. This year I decided to crop the images to a 1:1 square ratio, giving more room for writing in each daily box compared to previous years. Each month comes with a title, description and camera settings/equipment used.
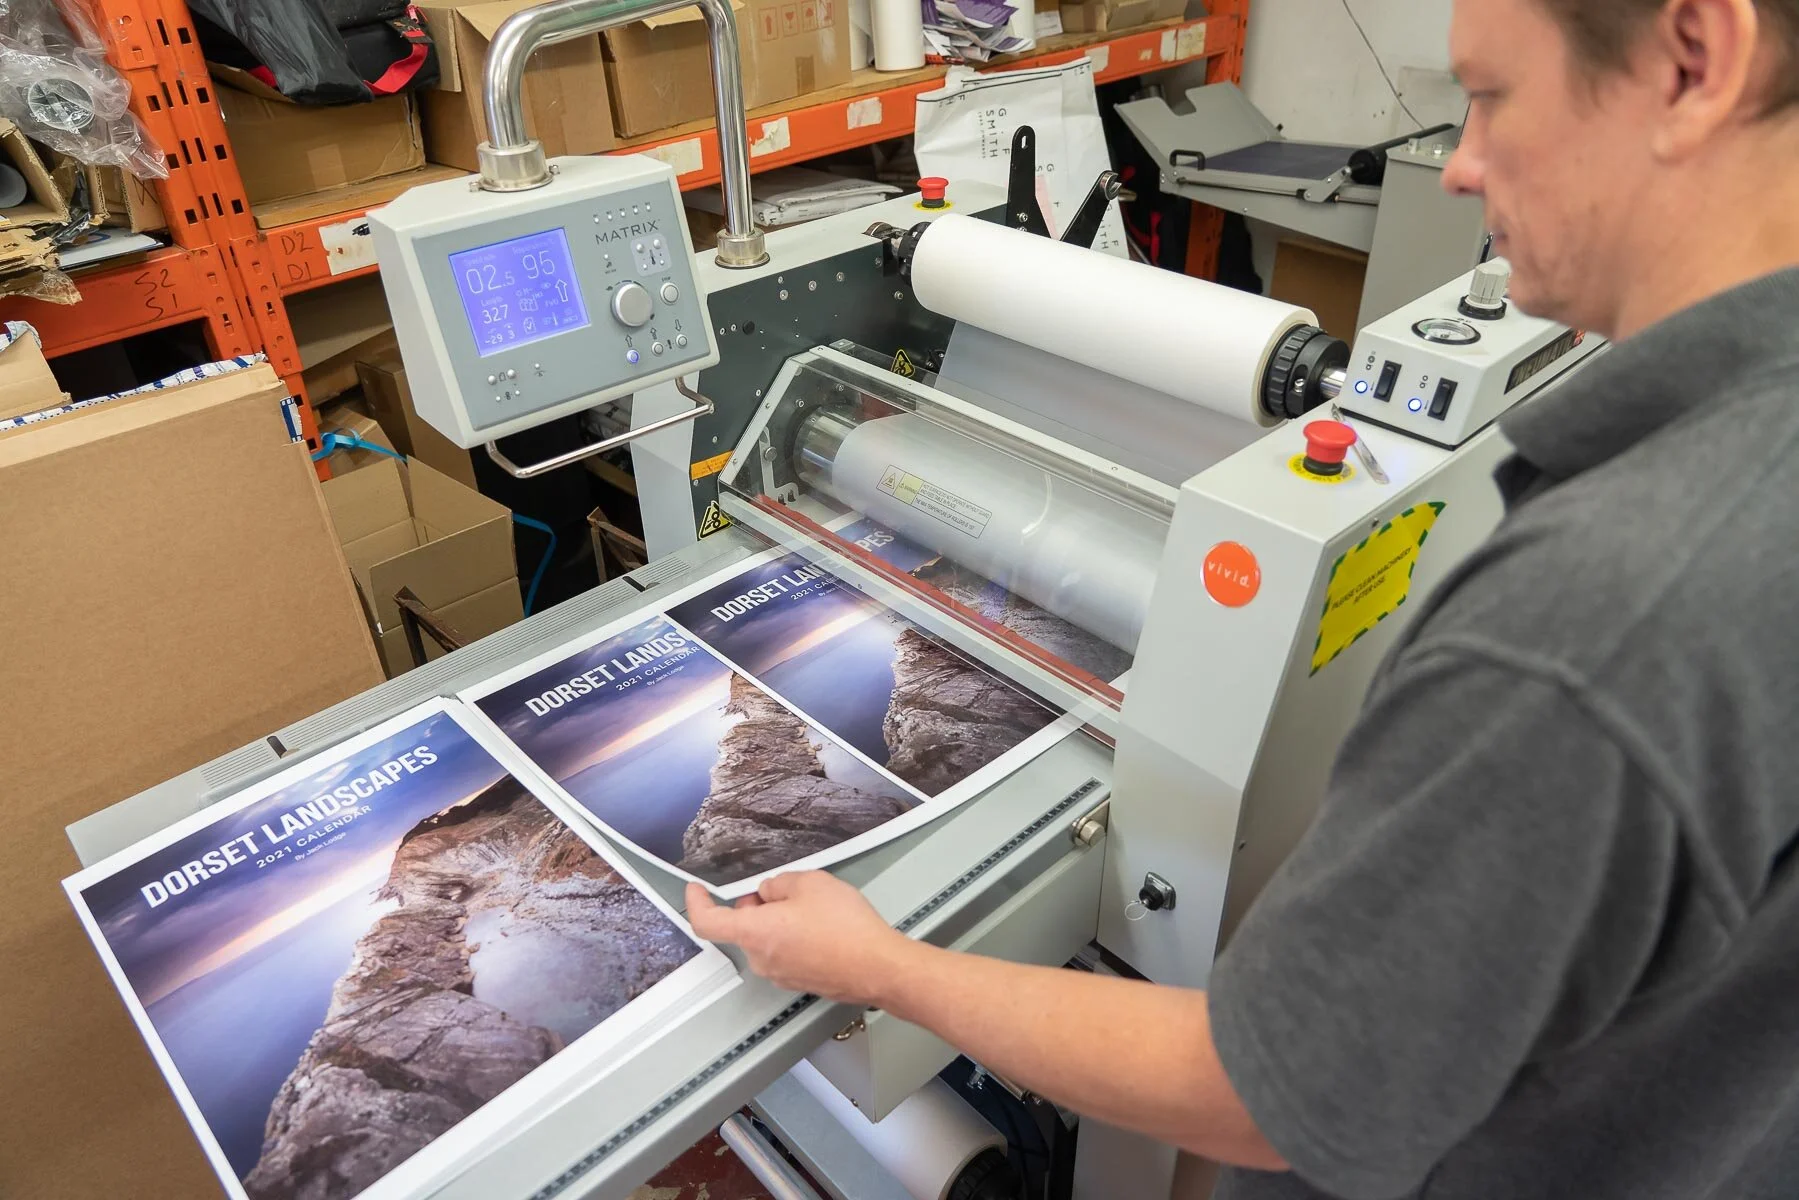
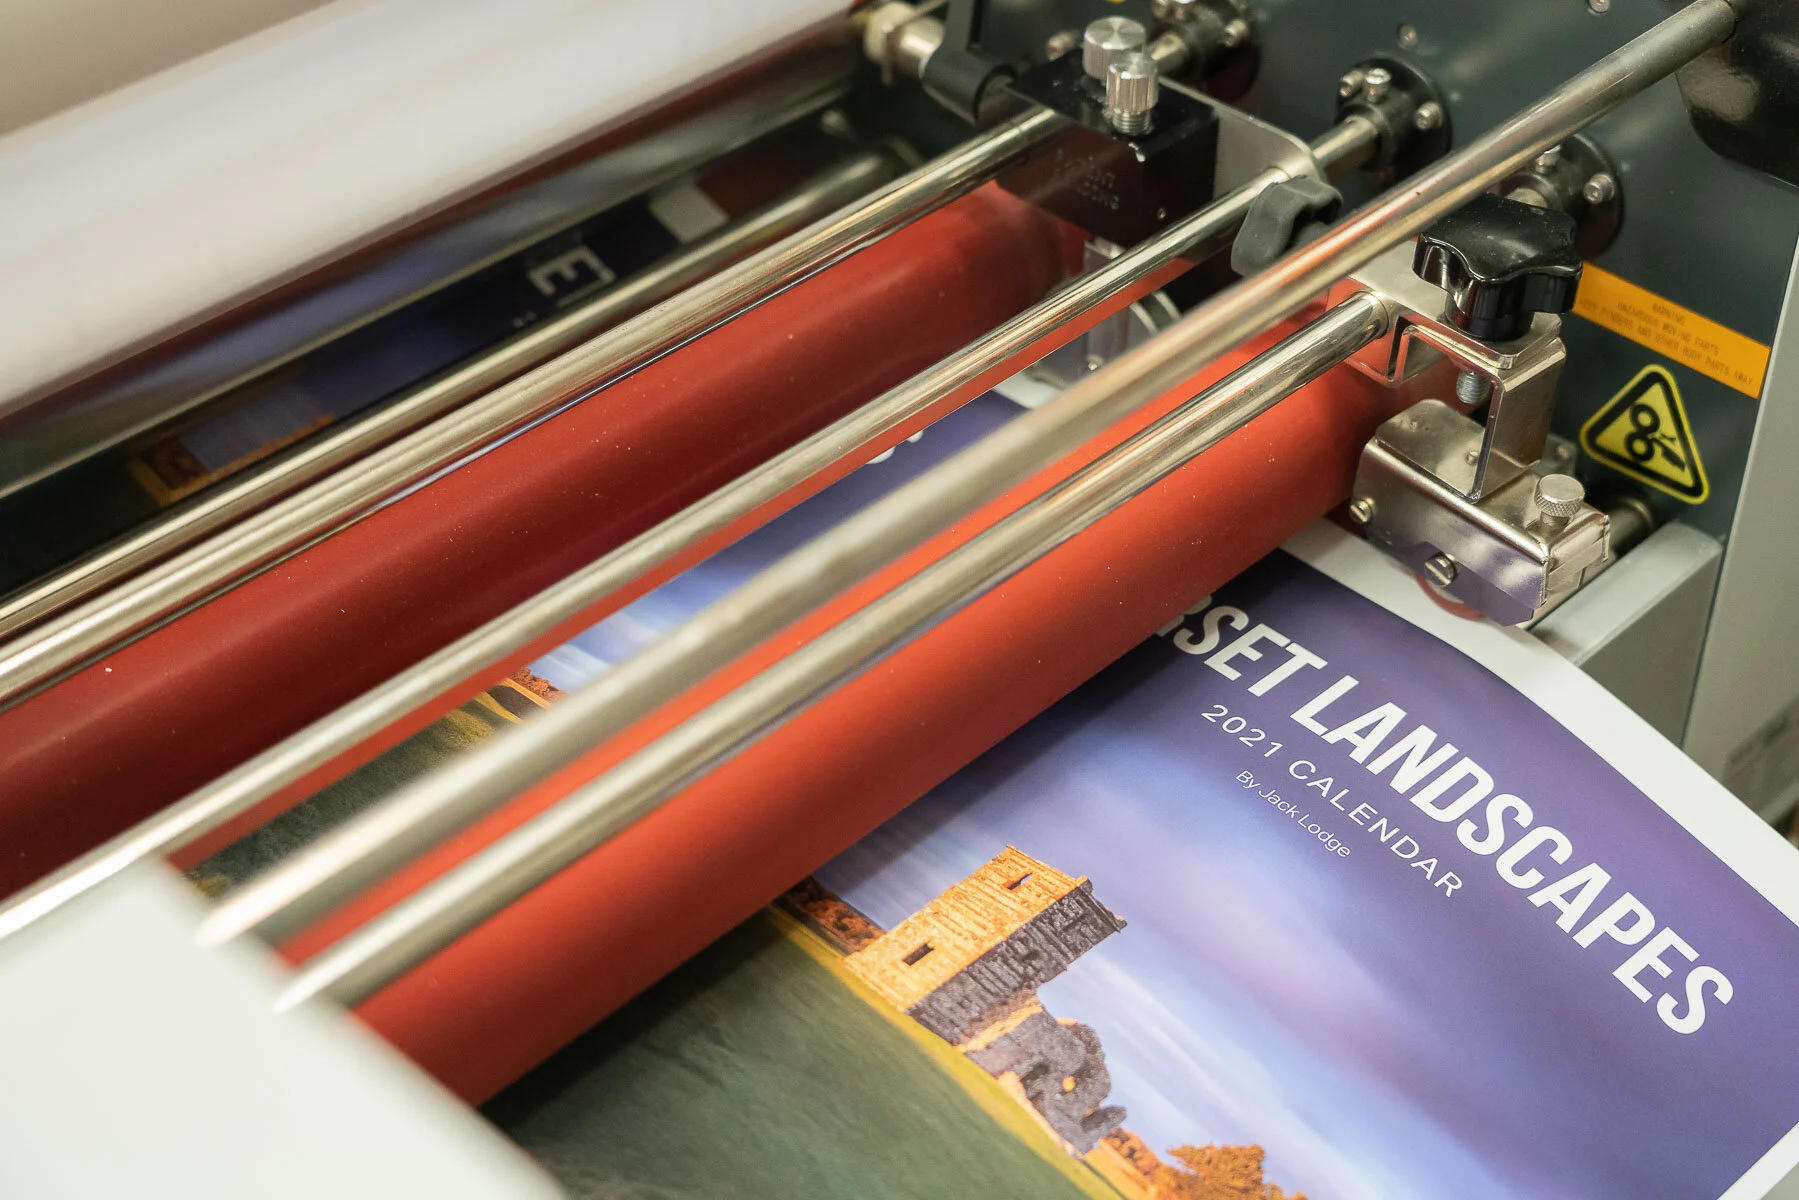
Stage 3 - Soft Touch Laminating
This has to have been my favourite part of the printing process. In previous years, I have had gloss laminate covers and at the time I was over the moon with the finish. However, after a few months of use and having the calendar hung up next to windows, the gloss finish would really distract from the photos on the cover, making them extremely hard to see… so, when Chris rolled off a test-print with a soft-touch laminated cover, I was completely sold on the idea. It feels absolutely incredible in the hands, like a luxury book cover and the best thing of all? absolutely no reflections when hung up in a bright room - winner, winner.
Stage 4 - Trimming
Once the covers were finished, put to one side and the inner pages finished rolling off the printer, it was time for trimming. This is an extremely important part of the printing process, and something that has to be done with extra-care. When designing the calendar, or any art work for that matter, it is vital to add at least a 3mm white border outside of your printed page size - this allows any image that you want full bleed to stretch into this area, and be trimmed once printed. This results in a lovely clean and fresh cut with no chance of a white border ruining that full-bleed finish on the covers.
The machine for trimming is extremely fascinating to watch. First you must stack 20-40 sheets of paper together, carefully lining it up with the grid lines so that nothing moves, then the sharp blade moves into position and cuts through all the paper like a hot knife through butter… this was then repeated for each batch of covers and inner pages until everything was cut to size.

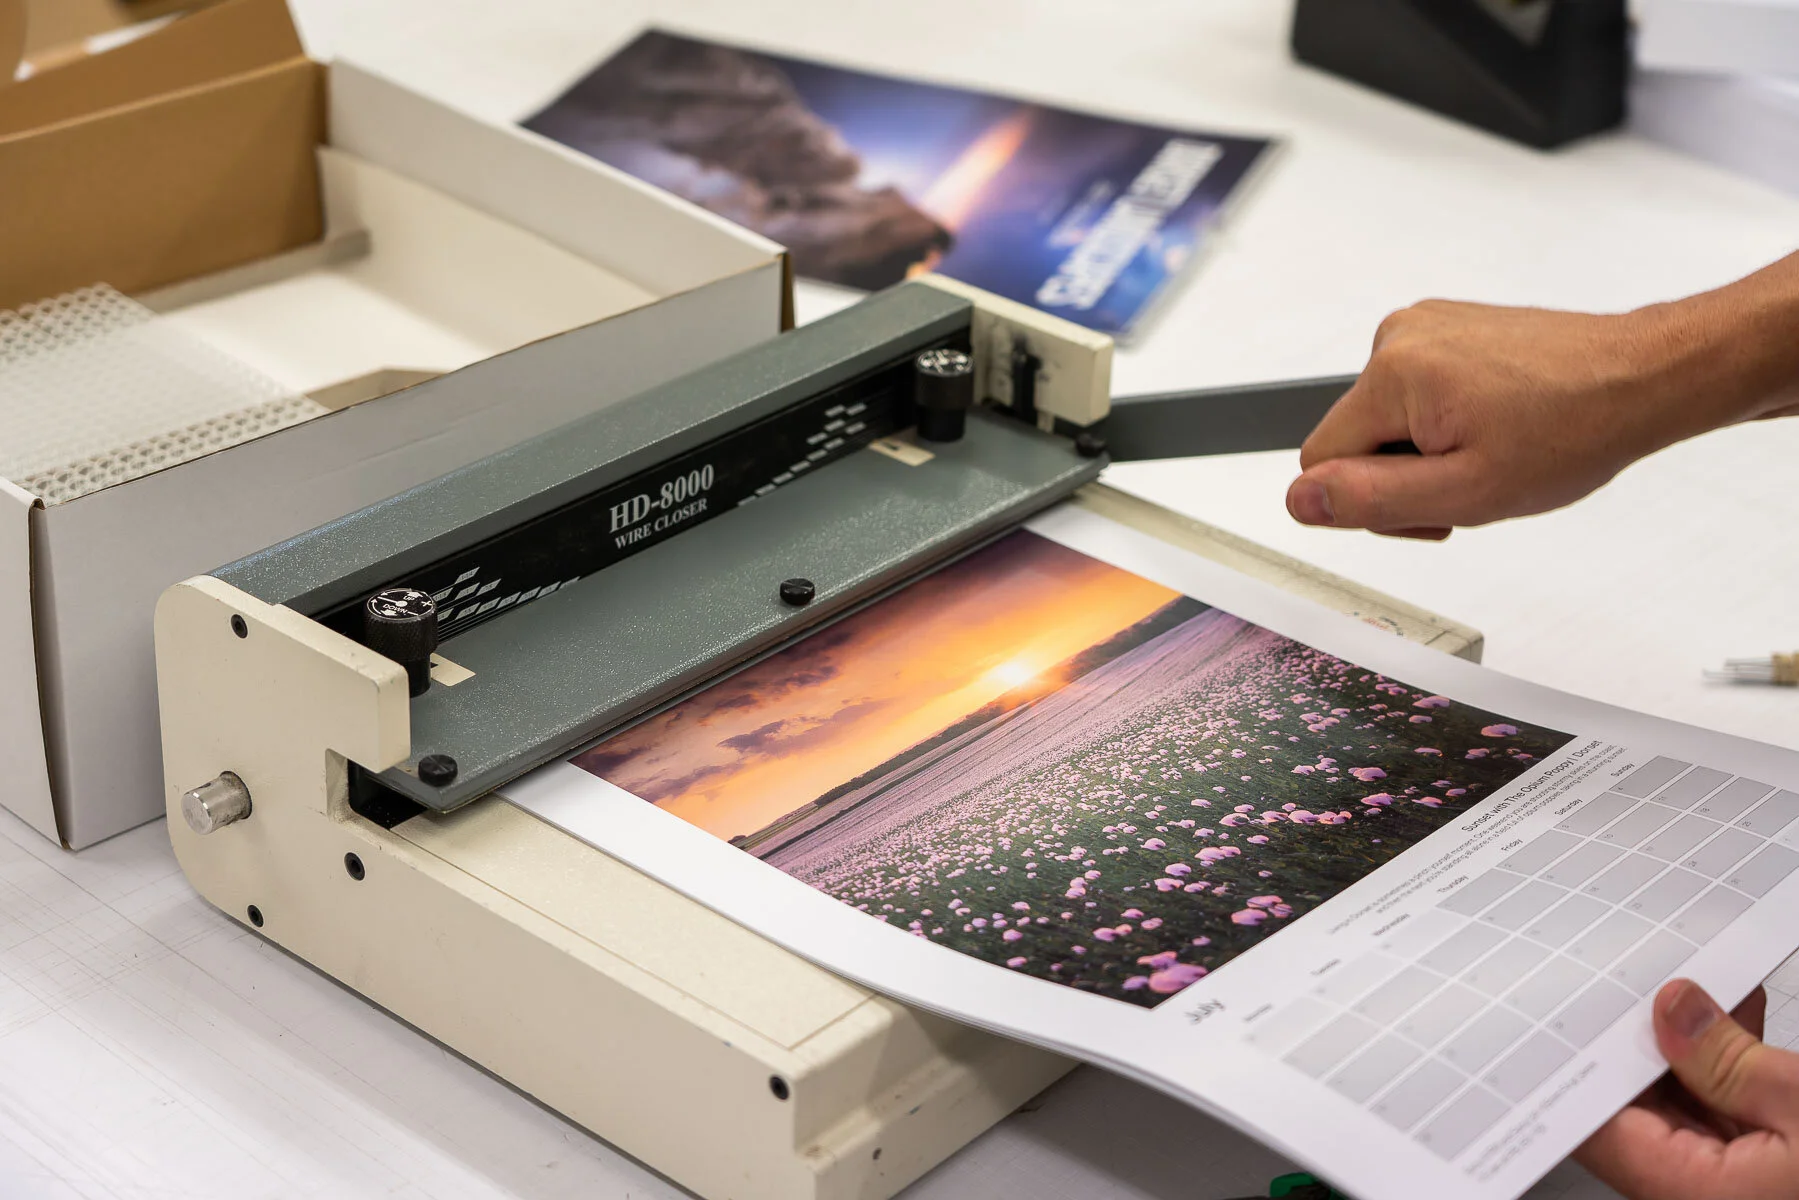
Stage 5 - Hole Punching and Wire Bounding
What many people forget is, and I was once partial to this before understanding the true workmanship behind running a successful print studio, was that each and every calendar is pretty much hand made by a single person. As soon as the paper is off the print line, covers are laminated and all trimmed, it was down to Wayne to put the calendars together and start hole punching ready to add the hanging spirals.

Stage 7 - The Finished 2021 Calendar
The final step was to sit back with a fresh coffee and flick through the finished calendar, feeling extremely proud and lucky to follow the process from capturing the photographs, processing each image, designing the calendar from scratch, then finally following the entire printing process - it really has been an amazing year and I can’t thank all of you enough who have ordered my 2021 Calendar, thank you! I hope you enjoy this little behind-the-scenes blog, seeing the process behind hand-making my calendar and the amazing job the team at Palm Print have done in getting these finished during such a strange time - thanks so much guys!

With pre-orders being absolutely crazy this year, I only have VERY limited stock left so if you would like to order one for yourself now, or a couple to hand out as Christmas gifts to friends and family, you can do so by clicking this link: https://www.jacklodgephotography.co.uk/prints/dorset-landscapes-2021-calendar-by-jack-lodge